# Lesson 3: Nunjucks basics
A one liner in a markdown file isn’t all that useful, so let’s get some HTML on the page. We’re going to use Nunjucks (opens new window) to do this.
# What is Nunjucks?
Nunjucks (opens new window) is a templating language that’s powered by JavaScript. It’s a way of extending HTML that lets us add logic, loops and various other capabilities.
These allow our templates to be dynamic, even though at the end, they’ll generate static HTML. It’s sort of like Sass, but for HTML rather than CSS.
You can also use Nunjucks in the browser as a client-side templating language. It’s very powerful, as we’ll come to learn throughout the course.
# Getting started with Nunjucks
Eleventy already has Nunjucks built in, and if we were to use a .njk file, it would automatically use Nunjucks to process it. That’s super smart but, ideally, we want to be using good ol’ HTML pages.
Luckily, Eleventy has us covered for that. All we need to do is update our Eleventy config file.
Open up eleventy-from-scratch/.eleventy.js in your text editor.
Add the following 3 lines, straight after the return { statement:
markdownTemplateEngine: 'njk',
dataTemplateEngine: 'njk',
htmlTemplateEngine: 'njk',
That whole block in your .eleventy.js file should now look like
this:
return {
  markdownTemplateEngine: 'njk',
  dataTemplateEngine: 'njk',
  htmlTemplateEngine: 'njk',
  dir: {
    input: 'src',
    output: 'dist'
  }
};
With the code we’ve just added, we’re telling Eleventy that markdown files, data files and HTML files should be processed by Nunjucks. That means that we can now use .html files instead of having to use .njk files.
Now that’s set up, we’re ready to create some templates. Let’s start by making some folders for them to live in.
In your terminal, make sure you’re in the eleventy-from-scratch folder, and run the following command:
mkdir -p src/_includes/layouts
This creates our _includes and layouts subfolders.
Inside eleventy-from-scratch/src/_includes/layouts, add a new file called base.html and open it up.
Paste in the following HTML:
<!DOCTYPE html>
<html lang="en">
  <head>
    <meta charset="UTF-8" />
    <meta name="viewport" content="width=device-width, initial-scale=1.0" />
    <meta http-equiv="X-UA-Compatible" content="ie=edge" />
    <title>{{ title }}</title>
  </head>
  <body>
    {% block content %}{% endblock %}
  </body>
</html>
This is our base template. All future templates will extend this template—more on that in just a minute.
But first let’s zoom in on two areas of interest in this snippet:
- The
{{ title }}part prints the yet to be definedtitlevariable on the page. It’s a bit like a${title}in JavaScript, or the<?php echo $title; ?>in PHP. - The
{% block content %}{% endblock %}area is really interesting. It essentially lets us create a named placeholder. If a template that extendsbase.htmlalso puts content inside a{% block content %}{% endblock %}, it will render inside that block onbase.html. This is super handy for complex templates, because you can set as many{% block %}elements as you like.
TIP
One handy thing we can do with a Nunjucks block (opens new window) is populate it with placeholder content while we’re working on our site.
Imagine this example is in base.html:
{% block content %}
<p>
  Here is some placeholder content that will render if a template doesn’t define a block.
</p>
{% endblock %}
If say, home.html, which extends base.html, didn’t define its own {% block content %}, then the content above would render.
This is supremely useful for generating <title> elements—or anything else—if we’re still figuring out the content and we want to make sure there’s something in place in the meantime.
Now that we’ve set up our base template, let’s add a template for our home page.
Inside eleventy-from-scratch/src/_includes/layouts add a new file called home.html and add the following HTML to it:
{% extends "layouts/base.html" %} {% block content %}
<article>
  <h1>{{ title }}</h1>
  {{ content | safe }}
</article>
{% endblock %}
The first thing this does is tell our home template to extend the base.html template that we added earlier. Eleventy automatically looks for includes like these templates from the _includes directory, which is why we only need to specify layouts/base.html.
After this comes the {% block %} which we discussed earlier.
Inside the {% block %}, we’ve added an article which contains the title, followed by {{ content | safe }}. This will render the markdown content, which for us currently, is “Hello, world”.
Because it’s markdown, it will be now converted to HTML and this is where safe kicks in.
This is what’s called a filter (opens new window)—a JavaScript function that can be applied to variables (in this case, content).
We have something called autoescaping (opens new window) turned on here, which protects us against cross-site scripting.
Without the safe filter, the HTML would be automatically escaped to keep our site safe.
Adding the safe filter to our content marks it as safe and allows it to render on the page.
# Assigning our template to our page
Right, that was a lot to take in wasn’t it? Let’s reward that hard work with some output!
Open up, eleventy-from-scratch/src/index.md and delete everything in it. Then add the following:
---
title: 'Hello, world'
layout: 'layouts/home.html'
---

This is pretty _rad_, right?
Hopefully this is starting to come together.
With this addition, we’re telling our page to use home.html as its layout. This in turn uses base.html as its layout, and the end result is a fully composed HTML page.
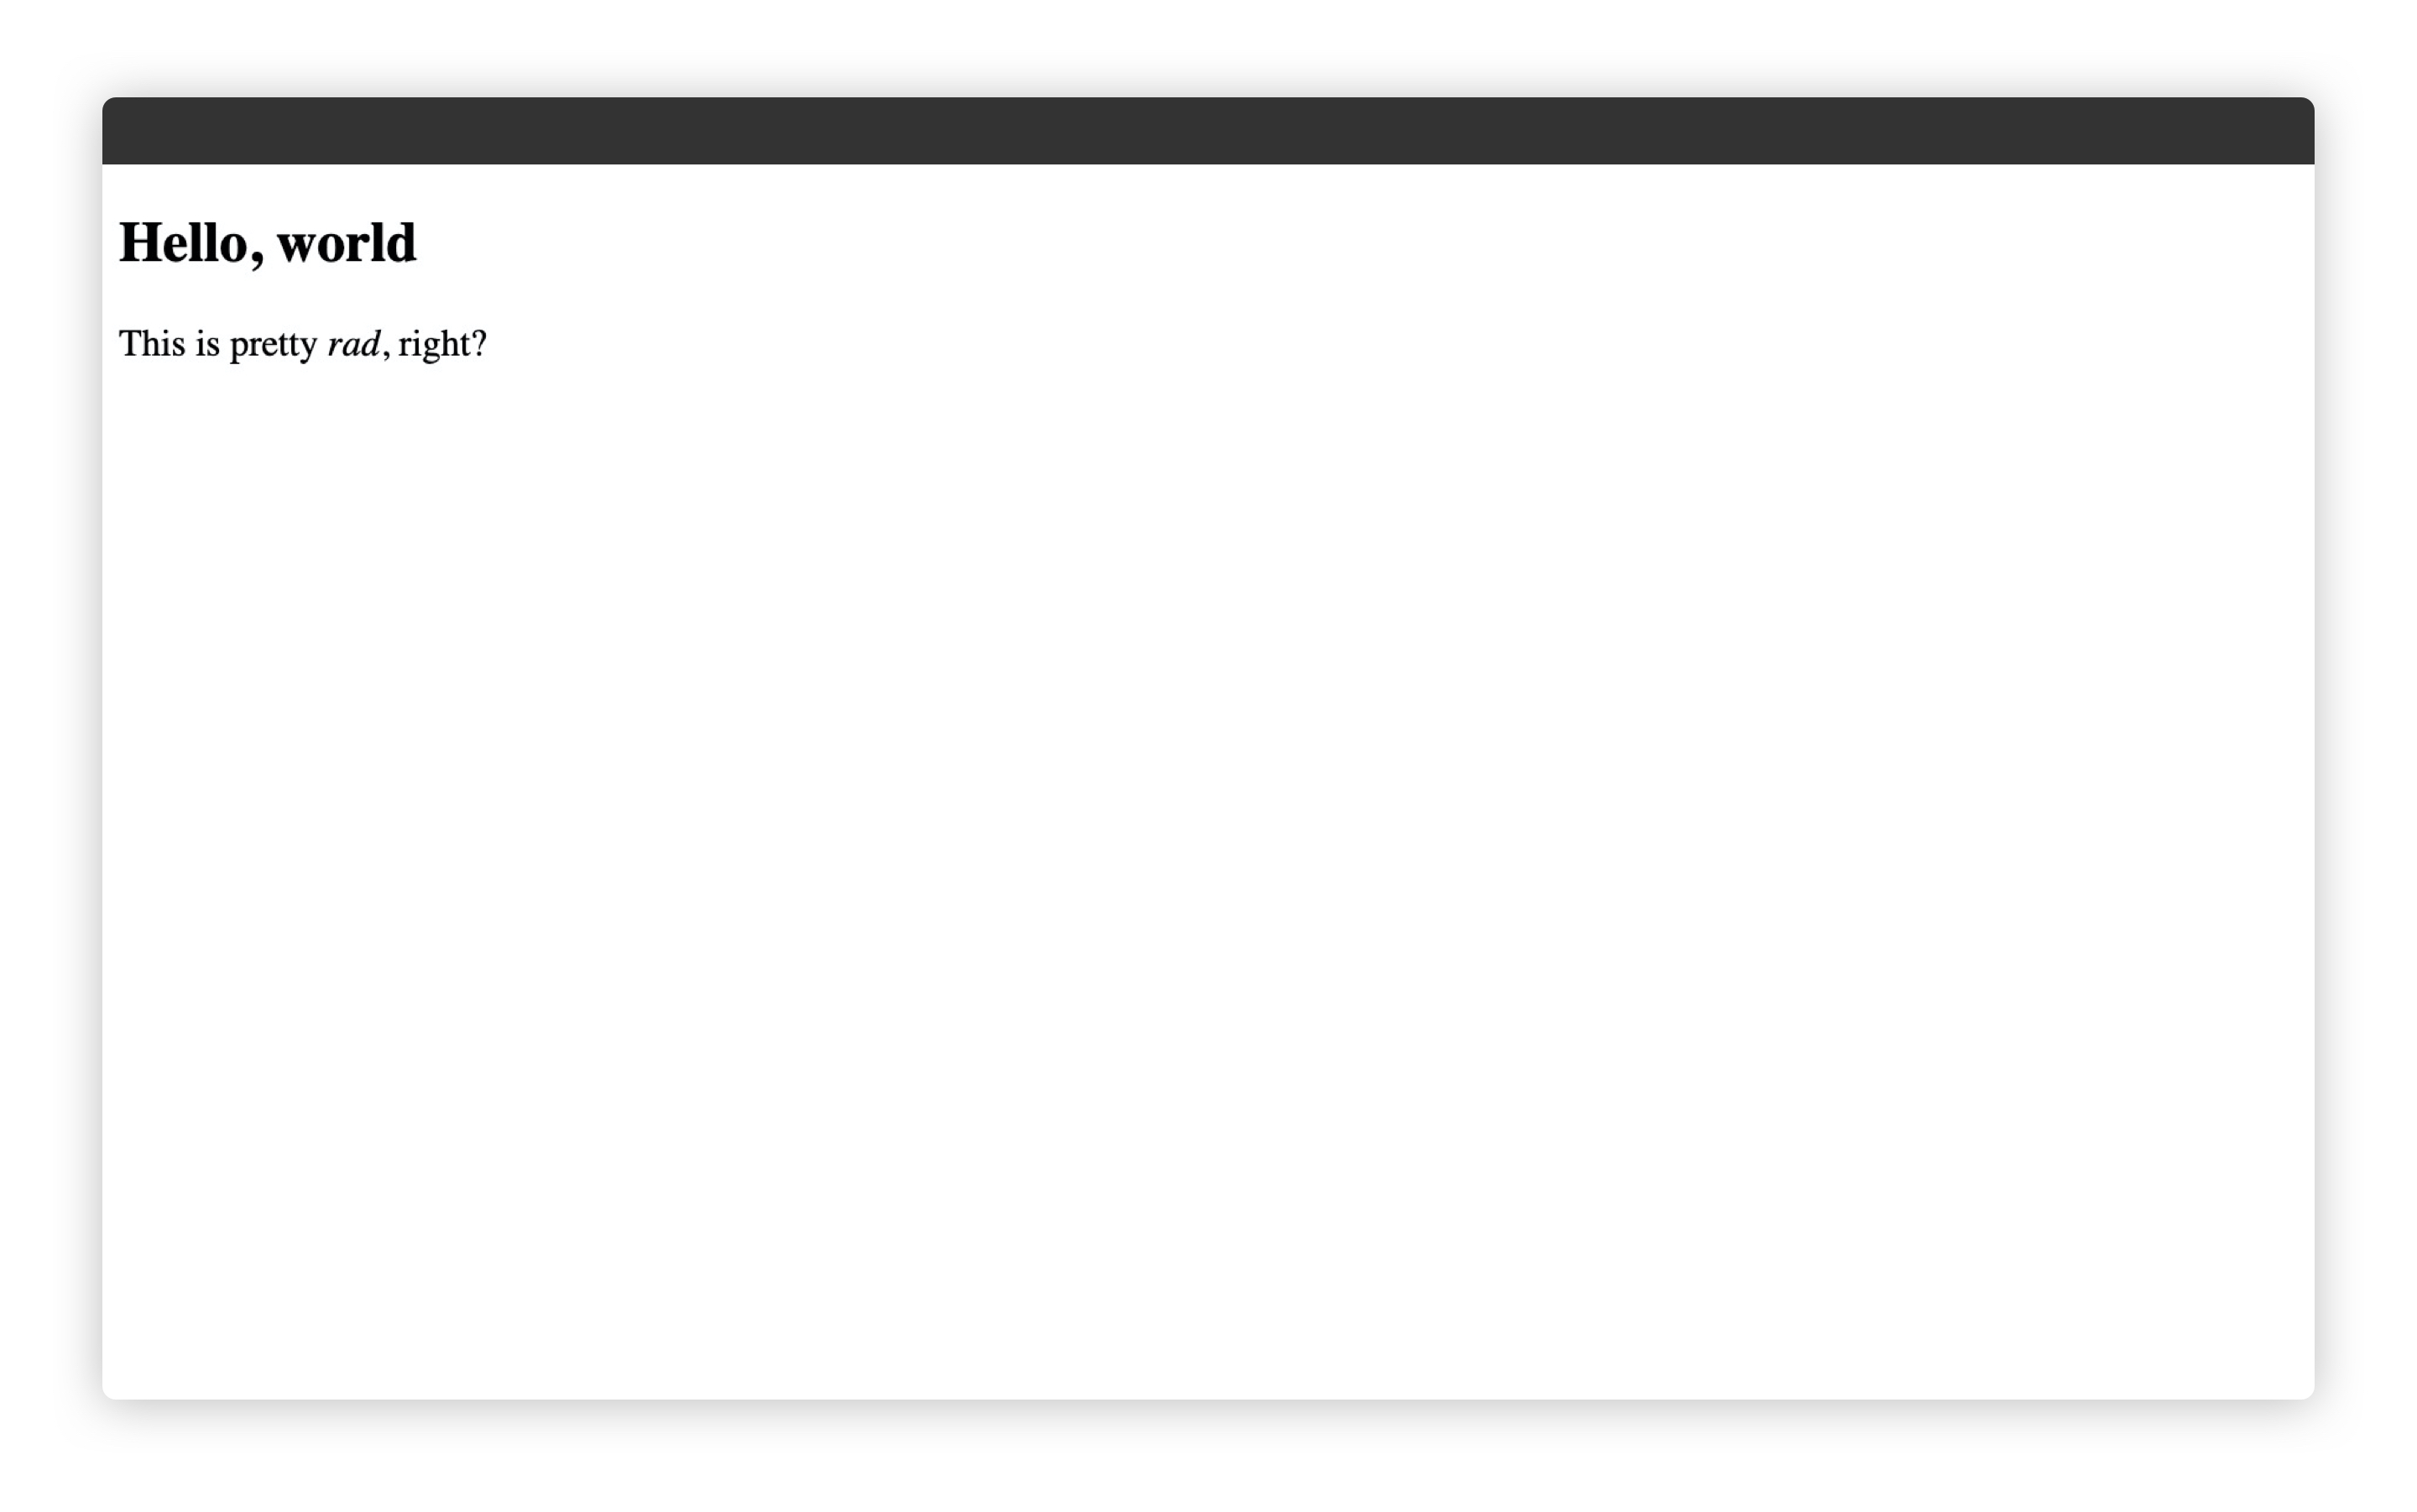
If you weren’t running it already, run npm start in your terminal. When you open http://localhost:8080 (opens new window) now, you should see this:

# Wrapping up
We’re really getting somewhere now.
We’ve got ourselves a base layout, a home layout, and we’ve been introduced to Nunjucks, Nunjucks filters and Nunjucks blocks.
This is all helping us render out some HTML. Nice work!
Next up, let’s dig in to some Front Matter.